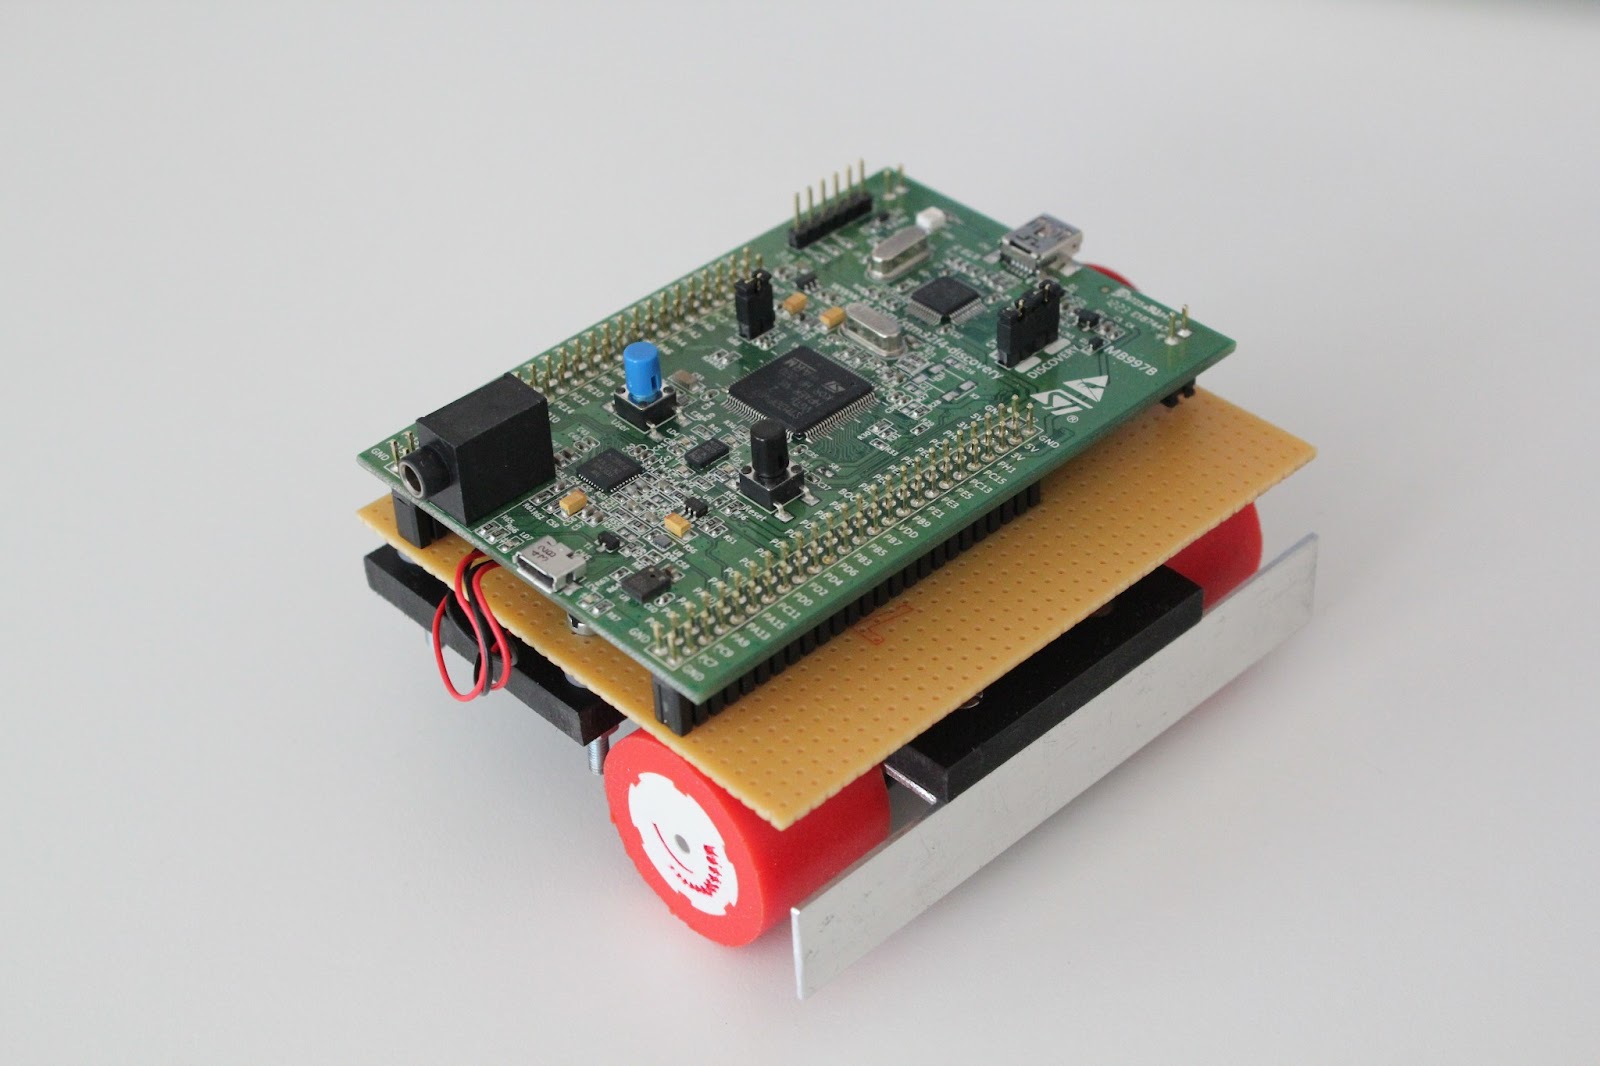
Some photos of the mechanical and electrical build.
I have cut a piece of the plastic for the robot body. 98 mm wide and 85 mm long. Two pieces of aluminum are connected to the body. The front piece will be the base for the thing that will hold the pencils. The second piece is used to fix and align the motor on. Tie-wraps are used to keep the motors in place.
As a third 'wheel' I use a Tamiya 70144 Ball Caster Kit.
I use a piece of prototyping PCB to solder the components. Because I'm only going to make one robot, there is no need to design and etch a PCB. The two black vertical strips will hold the STM32F4 Discovery board. The red board is the motor driver.
The result up till now, complete with the STM32F4 Discovery board in place.


Are you a bit more closer of understanding "MiniSumo'do"?
ReplyDeleteThe robot making is okay, but this guide for other builders would be confusing and loss of enthusiasm, because the lack of experince and practice in this competition. Even if it was built 2012.10.18 it could compete between 2006-2007 robots. Before doing any, I suggesto to watch videous of international competitions.
They all must be compact, sharp bladed and no open electronics to prevent damage.
Hi Олег Лян, I have watched some of the mini sumo videos on your Google+ page. I have to say that I am very impressed! I have build my first mini sumo called Quan more than ten year ago. I have done some small competitions in the Netherlands and Belgium with it. This was going to be my second mini sumo. It is still not finished. While building this mini sumo, I needed a 3D-printed part. I first build a 3D-printer for that. I turned out to be so much fun, that I forgot about this robot. Currently I am building my second 3D printer. Thanks for the suggestions!
ReplyDelete